The models I work on must run as well as they look so they are subjected to thorough testing to ensure that you will be happy with the model you take out of the box from me. Commonly discovered during testing are insulated wheels that rub on a painted uninsulated part - when the paint wears through a short happens. An example of an uncommon problem is a loco whose uninsulated driver centers were clear coated at the factory and the clear coat became insulation; this was discovered when the loco stalled on a dead frog because only one driver of the three uninsulated drivers was actually uninsulated..
One loop is traditional O gauge track, 60" radius .125 steel rail.
The other loop comprises several gauges laid with code 100 nickel silver rail. The gauges are traditional O gauge, Proto:48 gauge, On3 gauge, and S gauge.
With rails to support running 4 gauges, the centerline radius of each gauge is;
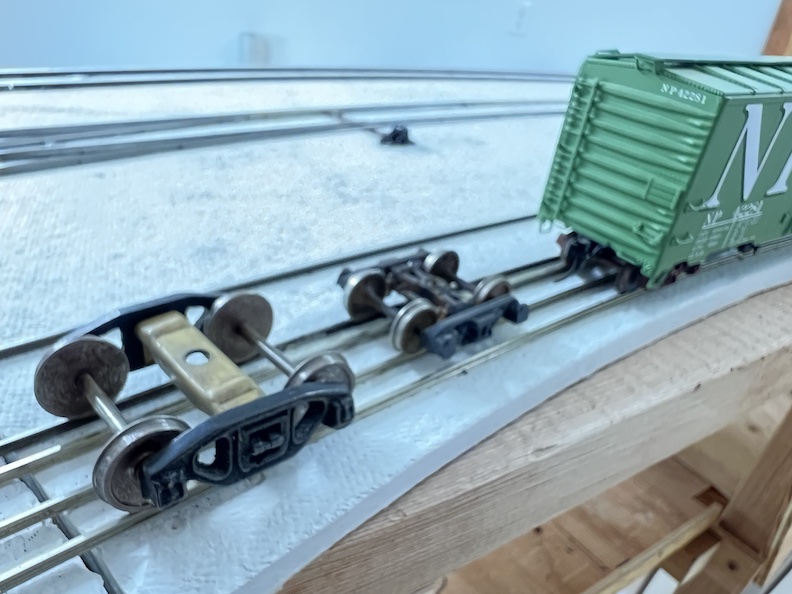
This photo shows P48, On3, and S Trucks on the loops; the leftmost two rails are O gauge.
There is a 48" long straight section between the two half circles with transitions between the curves and the straight taking up some of the straight.
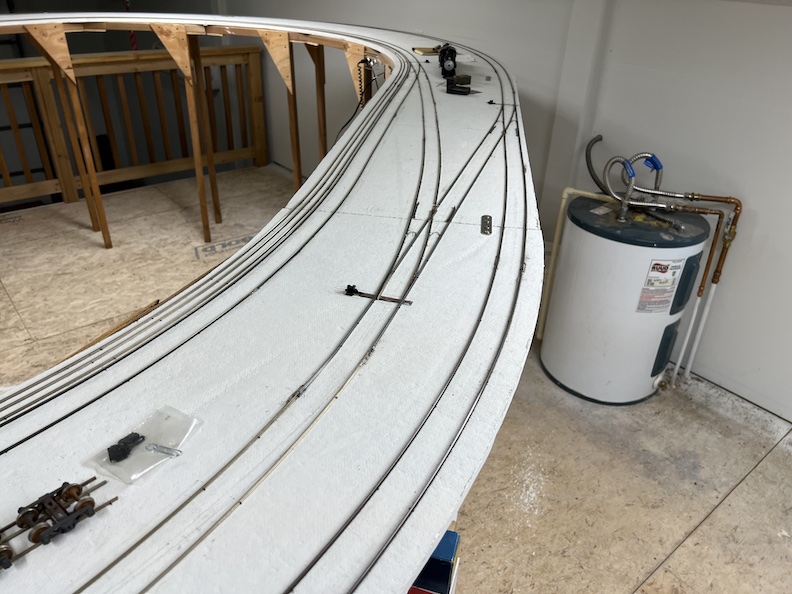
Here is a view of the switchback.
All the track was hand laid. Great care to make it perfect was NOT taken. My view is that not all customers' trackage will be perfect, so the model must run without issues on that trackage. While each loop is in gauge, the curves are not perfect, the inherent unevenness of Homasote creates uneven track, and the individual sheets of Homasote have boundary issues. All this creates a demanding running environment for models; models that run here should run reliably on all but extremely poor trackage.
I use a modified DCC setup for controls. To test DC powered locos an NCE 4 amp decoder is powered by DCC and its DC motor output replaces the DCC power on the test loops.
Two DCC systems are used.
When I am present while trains are running I use the NCE PowerCab, partly because I prefer it for programming.
When I am elsewhere in the shop and models will run unattended, I use a Lenz system which I have modified so that a remote/wireless garage door opener that I keep with me can stop trains. This modifiction is described here.
I also use a display that shows current and track voltage to monitor locomotive performance and to watch for issues on initial running.
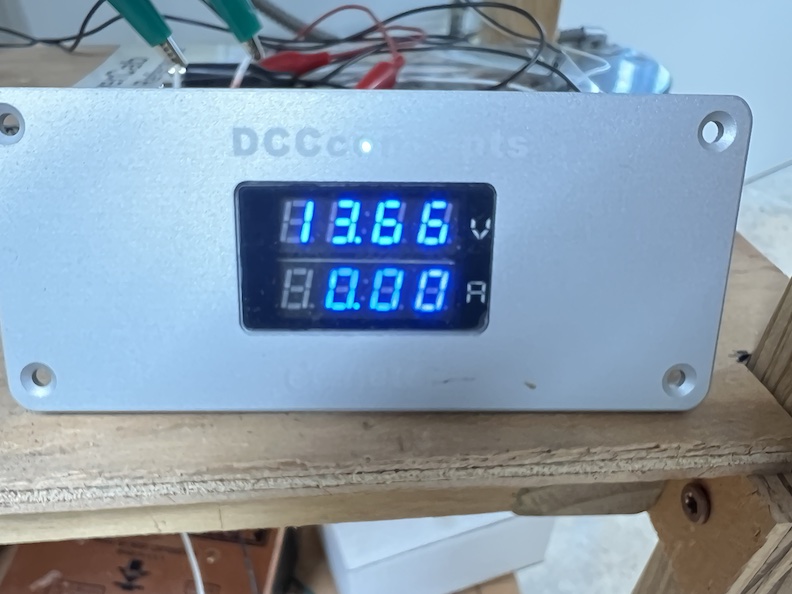
The display is an Alpha meter that was manufactured by DCC Concepts.